前言
配置完了hexo,你是否对自带的主题不满意呢?本篇文章将教你如何更改及美化hexo主题。
如果你还有没有安装hexo,请移步我的上一篇文章。
可以通过右边的文章目录快速跳转哦!
hexo主题推荐
hexo next
hexo-theme-next应该是目前最广泛使用的hexo主题了,优点是简洁,定制度高,因为代码是开源的,所以有很多开发者维护。由于前任管理员不提供权限,故开发了一个新的分支,详情。最新版本为8.0也是我在使用的版本,8.0及前版本请使用github搜索功能。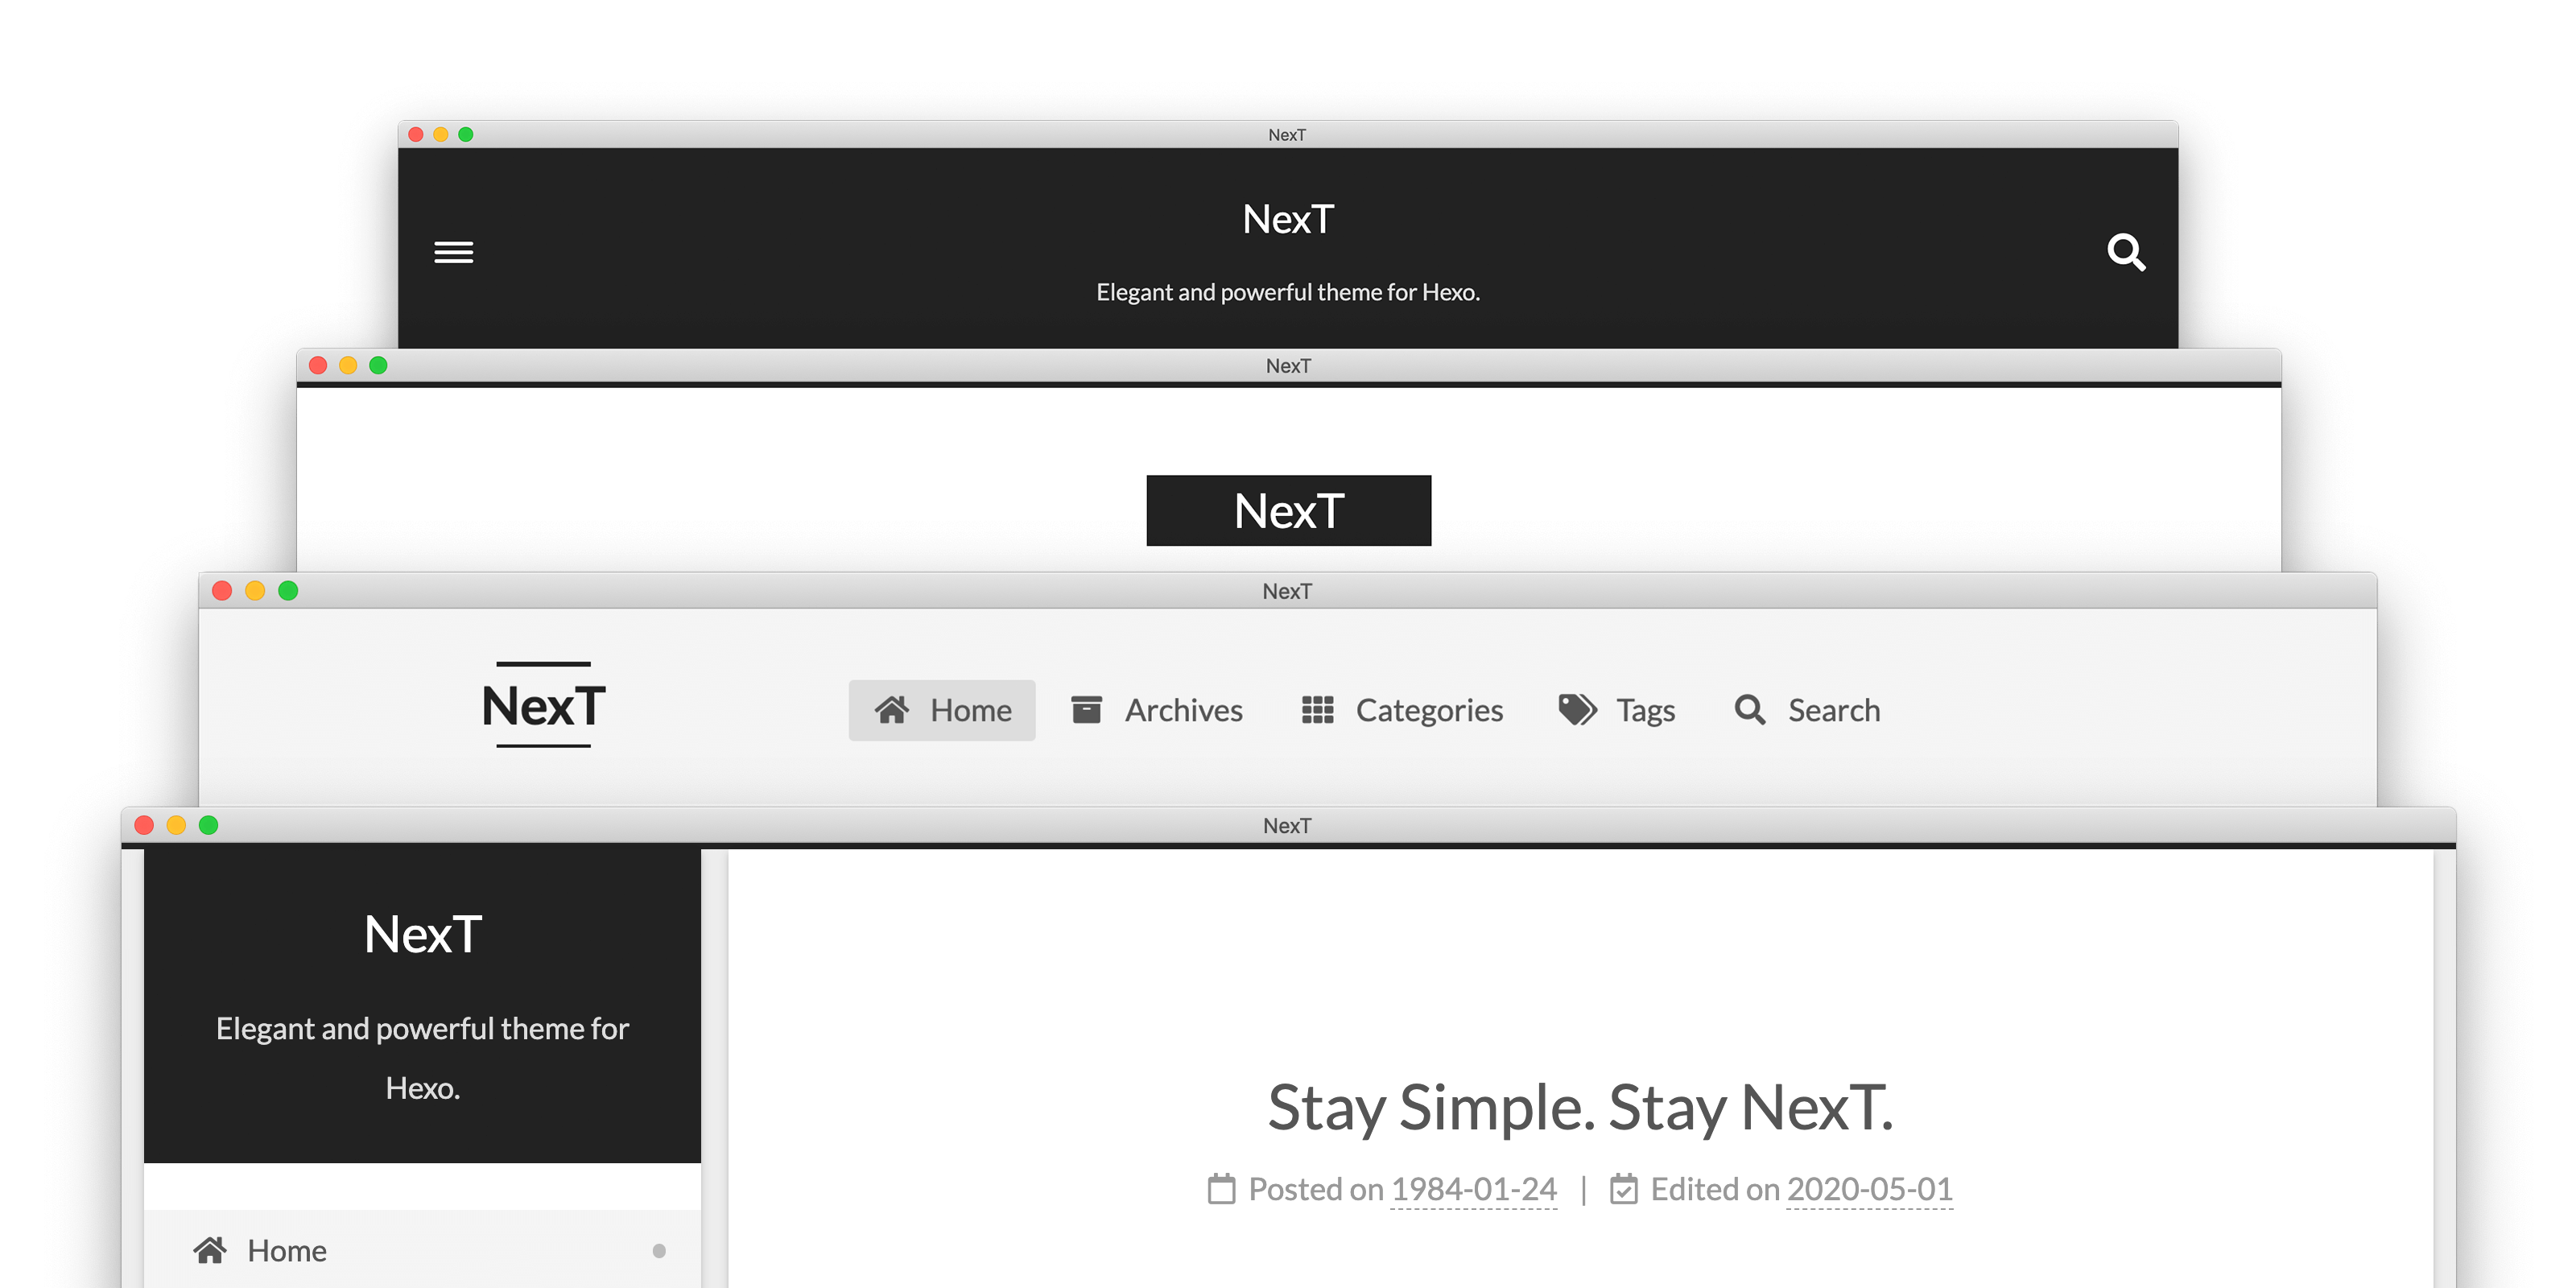
hexo kaze
hexo-theme-kaze是我在Themes|Hexo里面找到的一款很漂亮的主题,支持黑、白两种模式,界面简洁。
hexo next主题安装及美化
更改基本站点信息
在你的博客根目录下打开 _config.yml
在site栏目下可以更改你的基本站点信息
1 | title: Vince's Blog |
同时,记得把网站url改成自己的站点名
1 | url: http://www.haomingzhang.com |
安装hexo next主题
如果你正在使用hexo 5.0及以上版本,可以使用以下命令安装:
1 | $ cd your_site_dir |
或者使用git submodule克隆到本地(我在使用的方法,下文也会使用此方法的路径,npm安装的主题路径在node_modules里,其他操作不变。使用submodule是为了更好的版本控制。):
1 | $ cd your_site_dir |
切换到next主题
在你的博客根目录下打开 _config.yml
搜索themes,将里面的值改为next
1 | theme: next |
配置next主题
将 themes/next/_config.yml复制到你的博客根目录,重命名为_config.next.yml,linux可以使用以下命令:
1 | $ cd your_site_dir |
选择Schemes
打开 _config.next.yml,首先可以看到 Scheme Settings,里面提供了四种模式,对应上面介绍next的图片的四种,我用的是muse主题,可以根据自己的喜好更改。
1 | # Schemes |
设置站点icon
在favicon中,可以设置侧边栏头像以及站点icon。需要把你的icon放在 source/img/目录下
1 | favicon: |
设置菜单栏
在menu下,可以设置菜单显示内容,此版本next支持font awesome图标,可以去官网寻找你喜欢的图标进行替换。注:相应的菜单栏需要有对应的页面才能打开,不然会404哦!
1 | menu: |
开启tags/categories/留言板栏
举个栗子,开启tags:
1 | $ cd your_site_dir |
此时在你的 source/ 文件夹下会出现一个对应的tags文件夹,打开index.md并编辑为:
1 |
|
即可开启tags,categories也是一样的操作,type改为categories即可。对于留言板来说,只需要将comments一栏改为true,type改为guestbook即可。
边栏设置
在sidebar选项下,有多个自定义选项,可以自行查看。
1 | #调整边栏左右 |
添加社交帐号
在social栏目下,可以自定义在边栏显示的社交帐号,可以根据需求自行添加。注:此处依然使用font awsome的图标,可以自行修改。
设置回到开头
将back2top的enable设置为true即可,边栏和滚动百分比可以按照需求自行添加。
1 | back2top: |
设置已读进度条
将reading_progress的enable设置为true即可,位置颜色和高度都可以调整。
1 | # Reading progress bar |
小结
到此,你已经实现了基本的next安装及配置,是不是好看了很多呢?如果你还是对设置有疑惑,可以参考我reference中我的页面设置。
Upcoming Next
下一篇文章中,我会介绍一些我使用的插件。(已更新)